The Waterfall
Note: I forgot to start taking pictures for this hairstyle until step 5.
Hair length: Mid back
Step 1: Part hair in the middle.
Step 2: Part hair from top of head in the back, to behind the ears on both sides.
There should be three sections of hair after step 2. Two in the front, and one in the back. For a good picture of this step, click here.
Step 3: Take the back section and put it in a ponytail.
Step 4: Make a pony flip. I forgot to take pictures of this part. You basically make a little hole above where the ponytail has been secured. Then you take the end of the ponytail and stick it through that hole. Then you stick it through at least once more. After flipping it through, there will probably be more hair left, depending on how long your hair is. You can either leave this and go onto step 5, or you can keep on flipping it through the hole until there is no more hair to be tucked in. Then secure with hair pins.
Step 5: Make two braids with the remaining flipped ponytail.
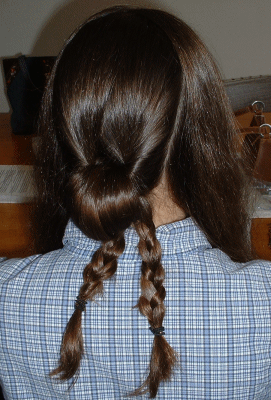
Step 6: Tuck the ends of the braids into the pony flip hole. Secure with pins.
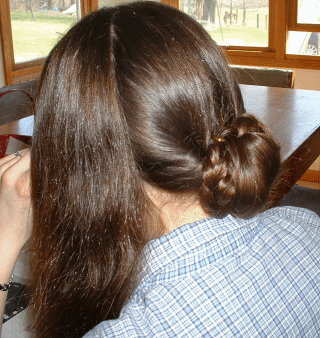
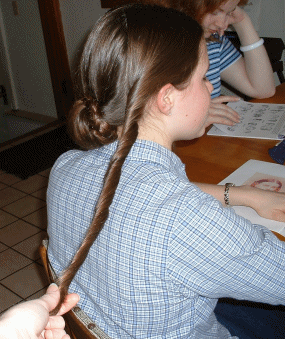
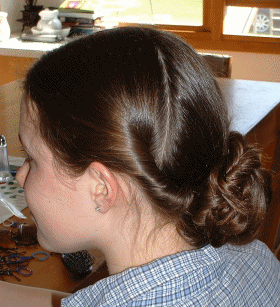
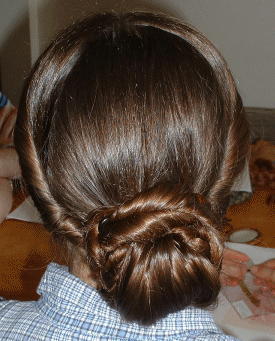
Step 7: The front sections you can either roll or braid. I decided to roll it back. Take your roll or braid and wrap it around the waterfall and tuck it in that small space at the top of the waterfall so that the ends do not show. Repeat this step for other side.
